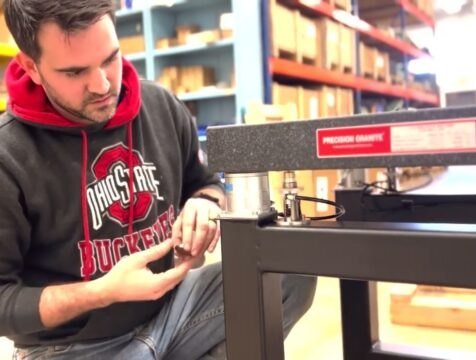
Correct installation of a vibration isolation table is essential for achieving stable and reliable performance.
This guide covers the basic steps for setting up a Bilz vibration isolation table.
1. Unpack the Table
The system is supplied on two skids:
- One containing the table frame with pre-mounted air springs
- One containing the granite top
Carefully unpack all components and retain the three metal plates supplied with the frame.
2. Assemble the Table
Position the table frame in its final location and carefully place the granite top on the air springs.
Check that the gaps around the granite are even, then use the adjustable feet to achieve preliminary levelling.
3. Install the Metal Plates
Place the three metal plates beneath the level control valves.
Apply suitable two-part epoxy to secure them.
Adjust the knurled rings carefully to establish a consistent starting position.
4. Connect the Air Supply
Connect the supplied compressor or a suitable clean and dry shop air supply to the pressure regulator.
Set the regulator to approximately 6 bar (87 PSI) and gradually increase pressure until the granite top begins to lift.
5. Final Levelling
Once the system is pressurised:
- Check the clearance around each air spring
- Adjust the control valves gradually
- Level one axis at a time
- Re-check the table after every adjustment
Continue until the granite top is stable and correctly levelled.
Installation Tips
For reliable performance:
- Use clean, dry compressed air
- Apply epoxy securely beneath the metal plates
- Increase air pressure gradually
- Avoid overloading or damaging the air springs
- Follow the supplied Bilz installation instructions
Correct Setup for Reliable Isolation
Proper installation helps ensure that the vibration isolation table performs as intended.
For a complete visual walkthrough, refer to the Bilz USA installation video for additional guidance on assembly, air connection and final levelling.